Modification
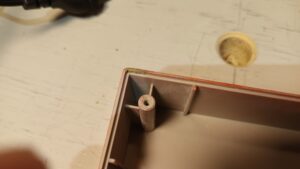
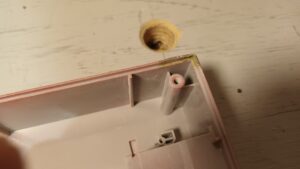
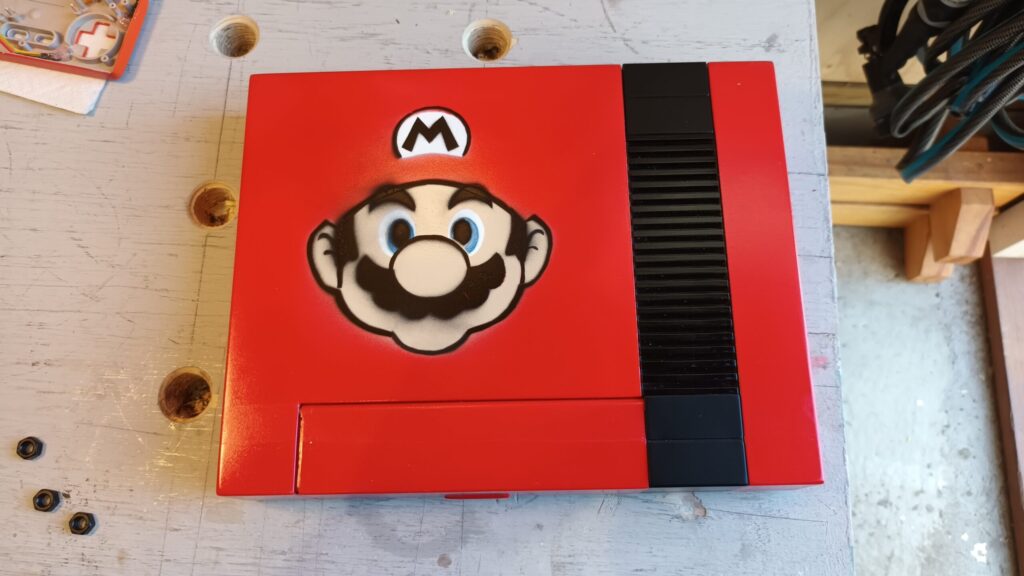
This NES top shell came in with a lot of stuff I bought recently. It was the regular story; yellowed, beaten and both starboard corners chipped. There was no way it could be saved with restoration so that’s why it became a modification work.
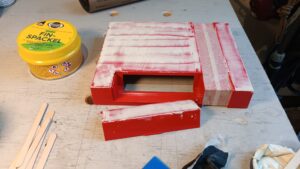
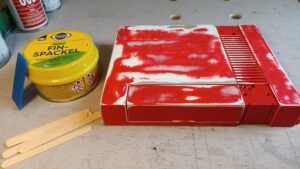
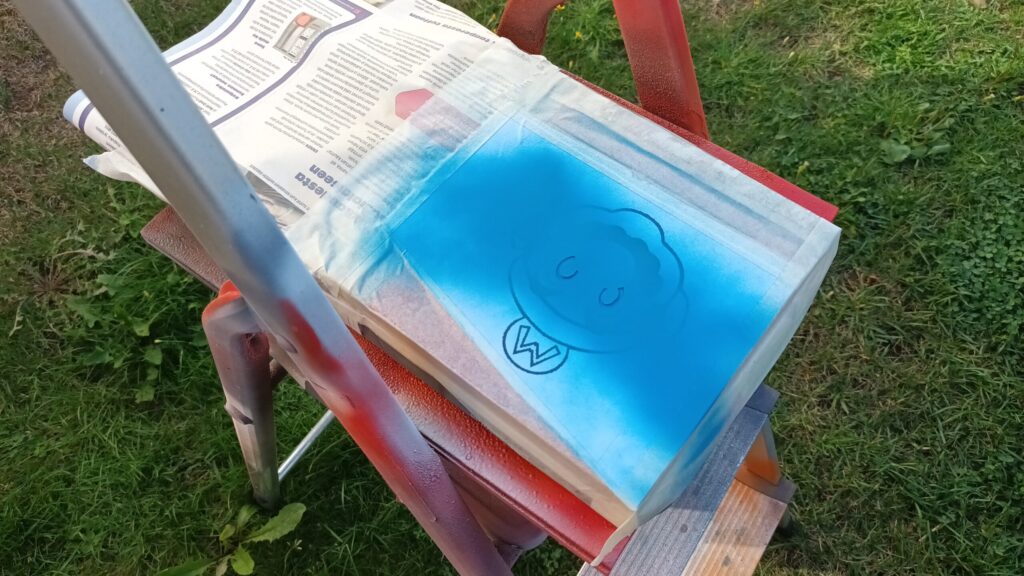
For starters I filled the corners with two-part epoxy, gave the shell a base coat of paint and then spackled everything I could.
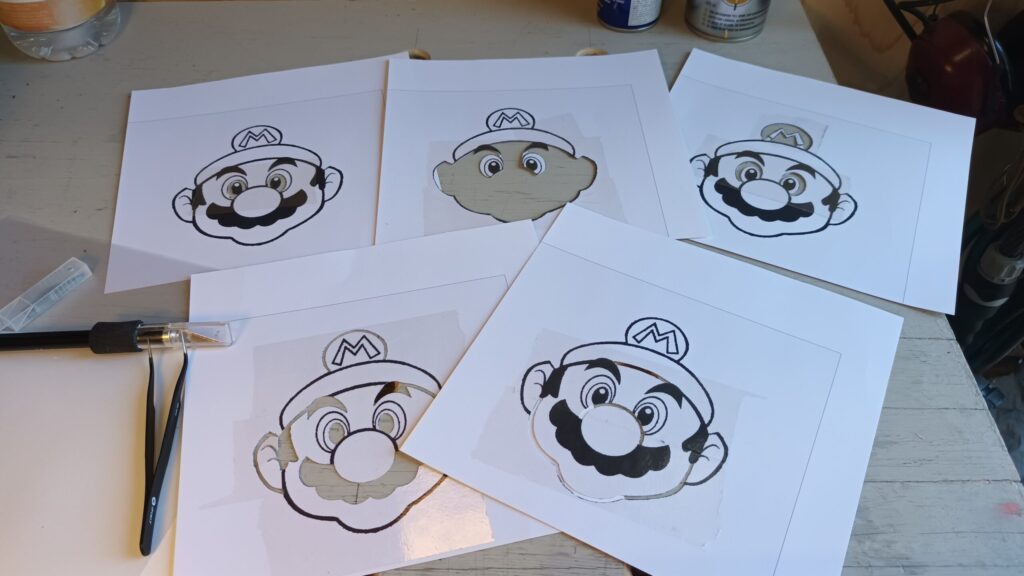
Mario is a quite natural theme for Nintendo stuff so I printed some stencils on thicker paper and laminated both sides with book cover film, and then I just simply cut them out with a hobby knife.
The order in which they were cut and the order they were to be painted was a nice little brain teaser, it is not as obvious as it would quickly seem to be.
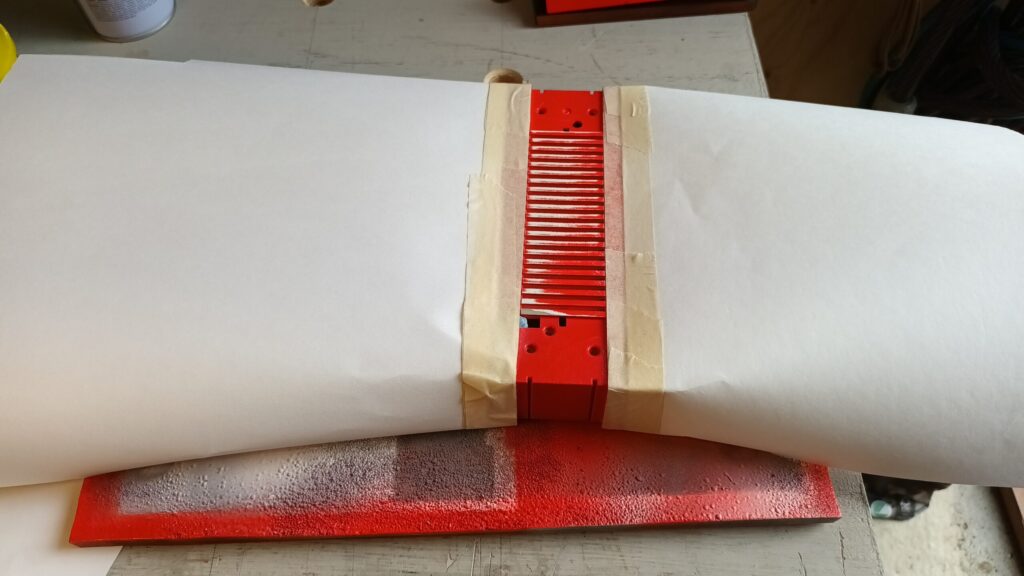
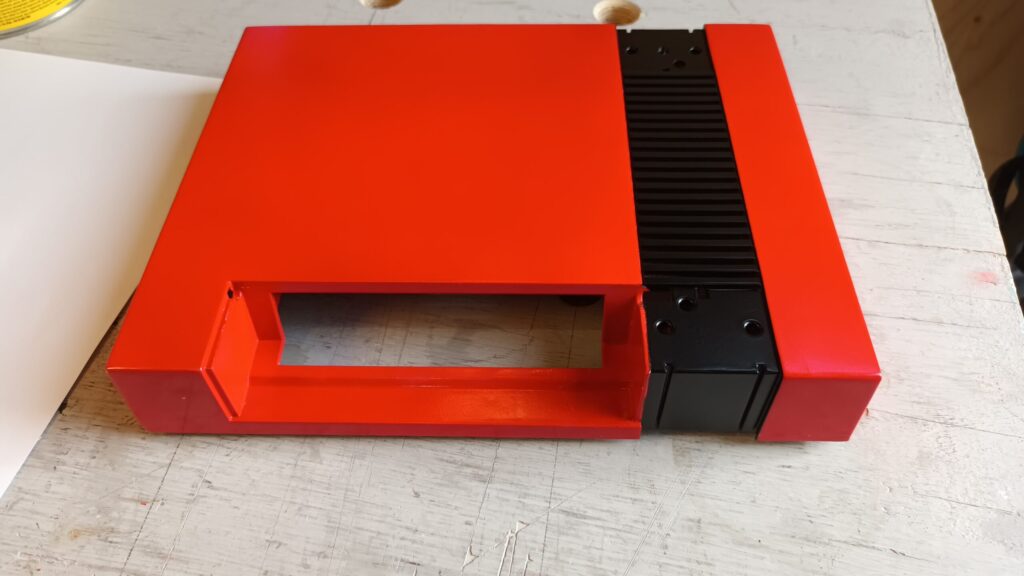
Had I the full shell, I would have painted the grill blue to match the Mario colors, but since I only have the top part for this, I decided to paint the grill black so the shell can be inserted on any original bottom shell(the part around the controller ports is black).
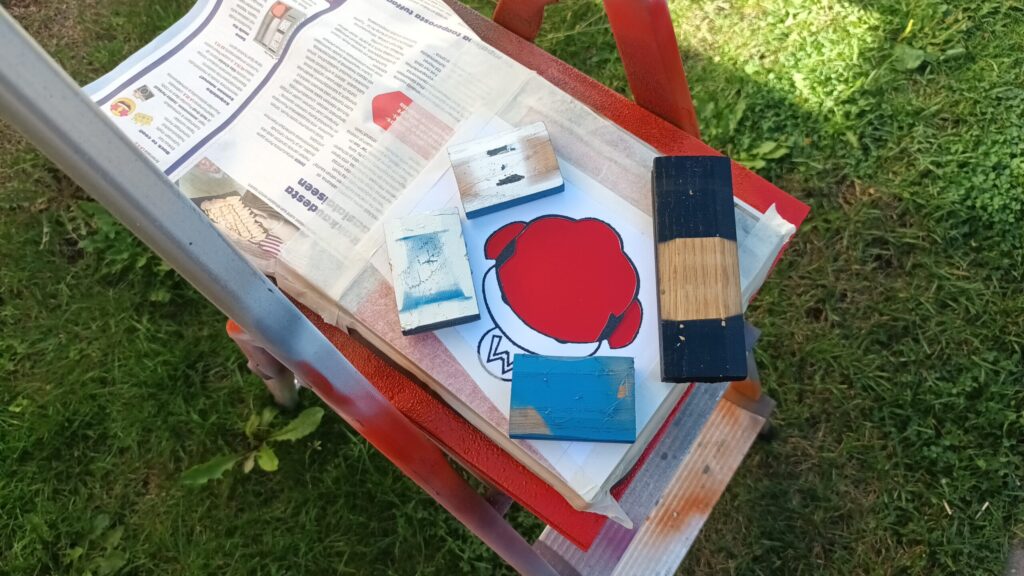
I mostly use rattle can paints made by Maston, which is a local brand carrying a wide selection of paint types and colors, but they don’t have anything to match Caucasian skin colors. I ended up using Motip’s car paint(46605) which was originally made for a 1985 Citroën.
Thoughts
While the paint job is not as sharp as I originally had in mind, there is charm in the graffiti style. The only graffiti we’ve ever had in my neck of the woods was a single NOFX tag back in the mid-90s.
An airbrush would probably have been a right tool for this but I don’t have one.

