Modification
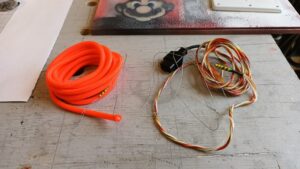
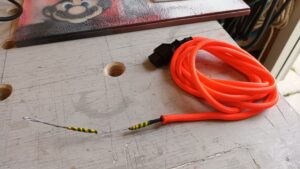
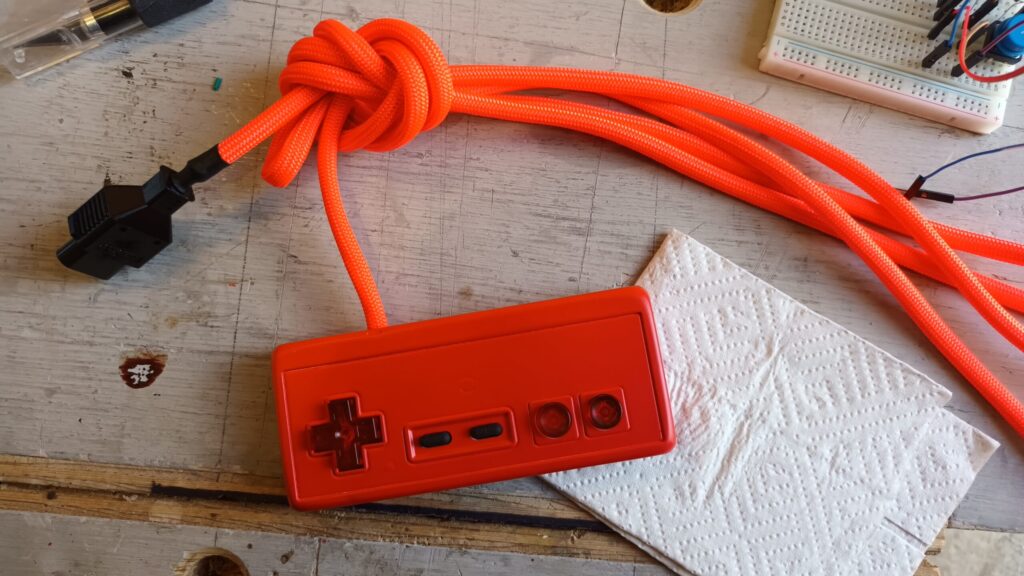
To make the braided cable, I first stripped the outer jacket of the cable, but left around 6 centimeters of the jacket next to plug because the braiding wont probably stay exactly in place all the time. Then I removed the inner strands of 6mm Paracord and put the cable inside it. You could, in theory, use the regular 4-5mm Paracord but I was not able to put the wires inside it.
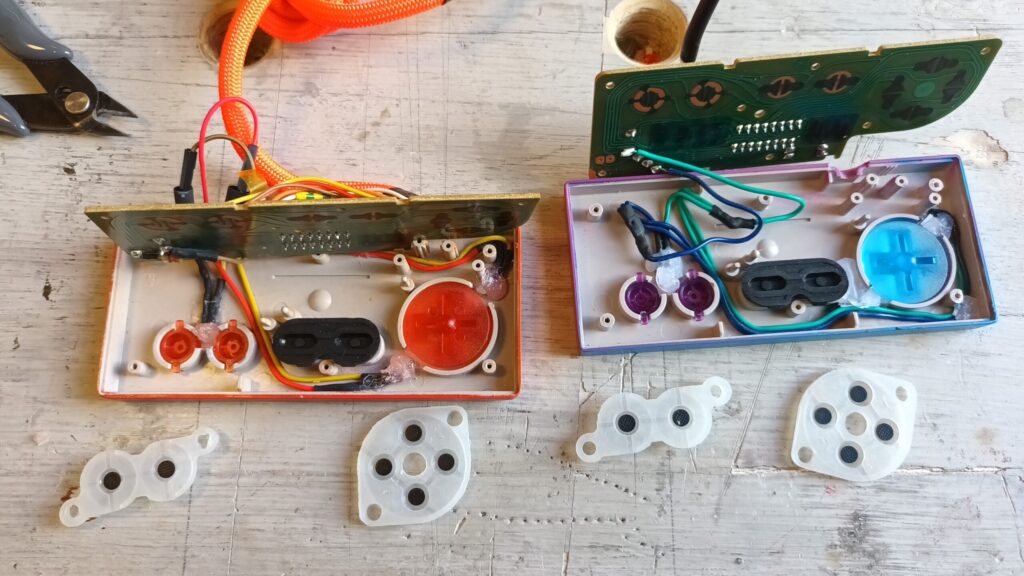
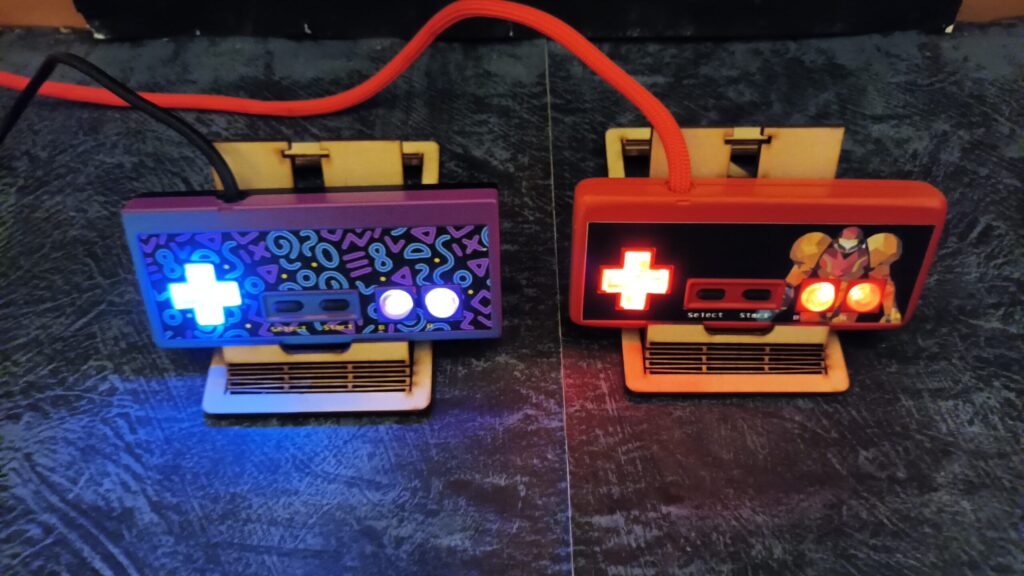
I want the LEDs to be illuminated just a little rather than blasting your eyes with blinding light.
For the black/blue controller I used on board white LEDs, they are a little blue tinted so they fit the buttons well, for the other controller I used regular red 3 volt LEDs to match the button colors. If you do bread-boarding for controller LEDs, give it 3.3v instead of 5v, it is more accurate. I’d really like to run them in series but there’s just not quite enough power.
Hot glue is there to diffuse the light a little and super(CA) glue to hold wires down.
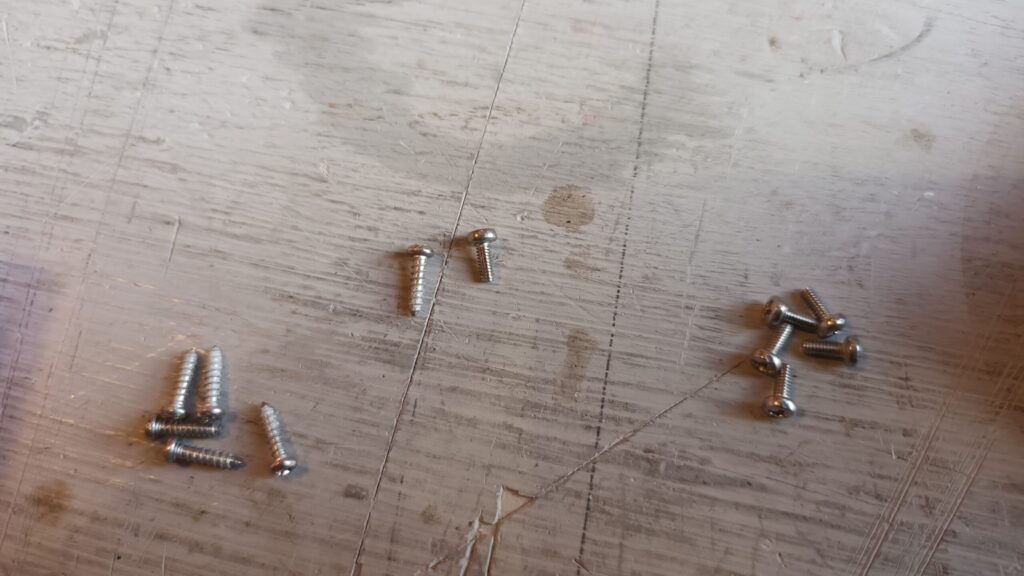
To top the builds of, I use A2 machine bolts to put them together, they’re a little shorter but give a little tighter grip.
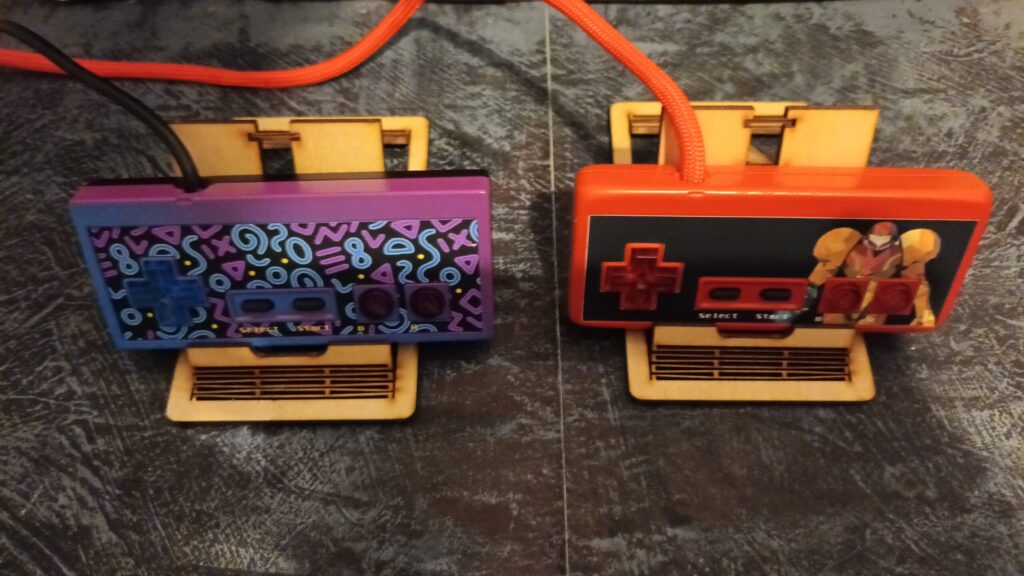
Left one is supposed to be 90s themed with radical colors and shapes and the right one is Metroid inspired, it has rounded corners to get the Morhp Ball feel.
Thoughts
Getting the right level of illumination for LEDs is really, really hard.
Even though braided cable is a lot more flexible, there’s really no point of doing it unless the original cable jacket is FUBAR.
I’m really happy with both of them.

