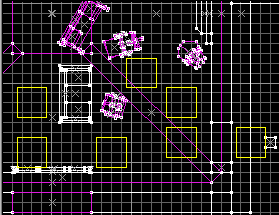
 The most basic way to use an info_node is to place it so that it is centered on the ground (although this isn't required, I recommened it) and placed where you want monsters to go. Here is an example of a map that uses info_nodes (the info_node's show up in yellow).
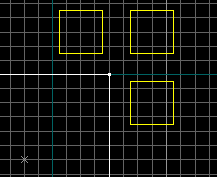
 Something that many mappers mess up on is cornering with nodes, when cornering, you will want to place 3 nodes around the corner so the monster has time to turn before going all the ways around the corner.
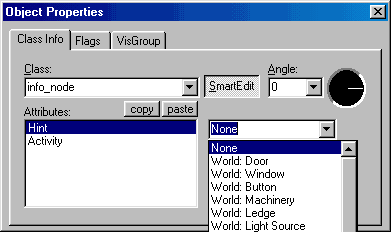
 A more advanced way that you can use info_node's (usually in conjuction with infodecals) is to set the "hinttype" and "activity" keys to make monsters do various things at that node, such as look at the wall, look through the wall (windowed), etc.