|
 |
| Date:
10-28-99 |
Teams:
2 |
| File:
bridge1.zip |
Players:
6-16 |
| Game:
TFC |
Size:
Medium |
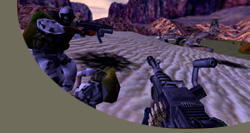
| Briefing:
A nifty gun emplacement in a
standard CTF map, but shoddy construction is the theme here. |
|
 |
Bridge1
 |
Author: Gekko
| Reviewer: Wedge
Objective:
This is your typical Team Fortress style Capture the Flag
map. Get the enemy flag from the enemy base, bring it back to your capture point to score.
Scoring is independent of your own flag's status. Your team can not touch your own flag,
even after the enemy has taken it and you manage to kill the enemy flag carrier. Instead
you must wait 60 seconds for your flag to return.
Scoring:
You can score points by either killing an enemy player (1
frag) or capturing the enemy flag (10 frags). 10 team points are awarded to your team for
each Flag Capture achieved by any member of your team.
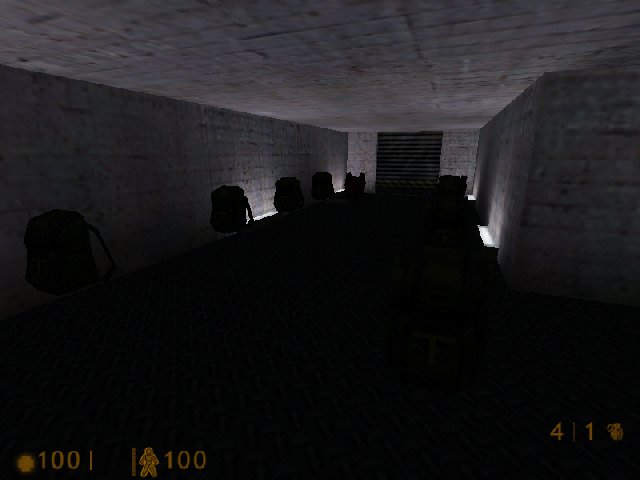
Evaluation:
This map sports some very shoddy construction. The author
didn't take time to make brushes fit properly, align angled textures or even apply noclips
over the sky to prevent players from rocket-jumping out of the map. According to the text
file, this is a "feature" for the bored player. When you do accidentally
conc-jump out of the sky, you can see various streaks of light that are indicative of
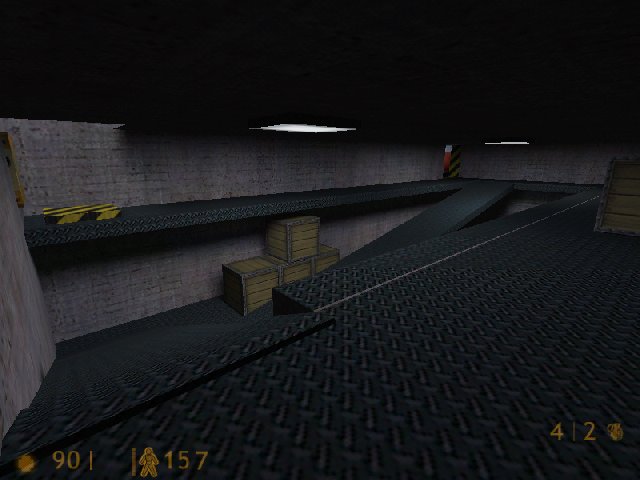
improperly fitting bursh work. Speaking of lights, some of the inside areas were very
poorly lit as well. Many of the ramps don't quite "join" with the balcony they
are attached to. I just get the feeling that this whole map was thrown together just so he
could show off the Vickers gun.
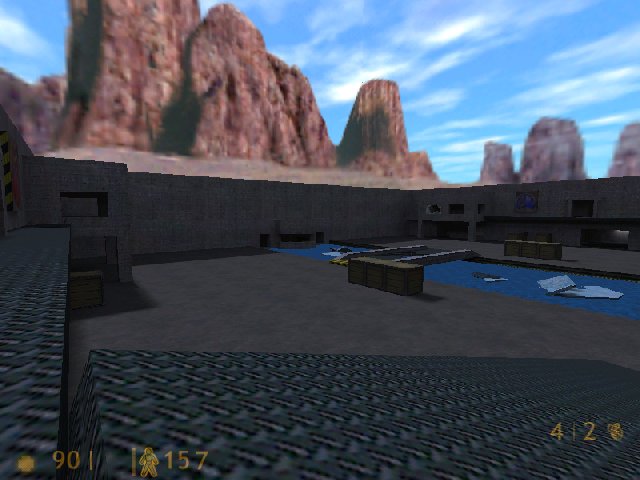
The water in the middle has what I believe are supposed to be chunks of ice floating in
it. This is the only thematic element that I could find. It shows a typical 2fort layout
with ramp room, foyer, sniper balcony, bridge and so on. The elements that are changed
slightly to differentiate it from a 2fort clone is the lack of water entrance and the
strange, maze-like, flag section that doesn't happen to be in a basement.
There are a few nifty things done with the layout. There are several entrances into
each base, 3 upper and 3 lower. However, the plethora of entrances is dampened by the fact
that all roads go through the ramp room. And then you must navigate through the strange
maze-like flag region. The center area sports a gun emplacement in the water area. This is
the biggest selling point of the map, more on that later.
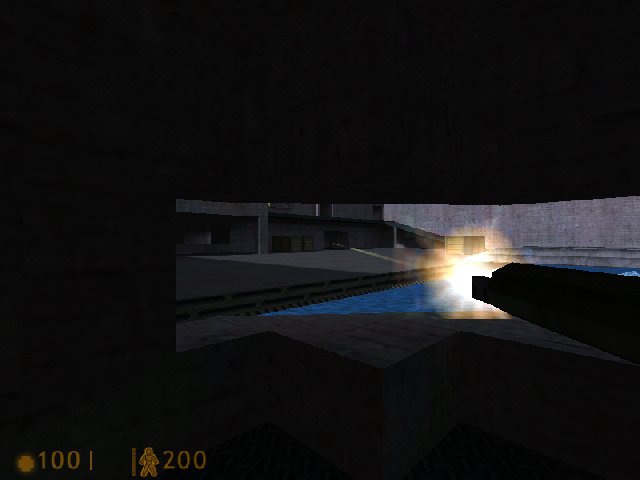
Excepting the drastic choke point in the ramp room, there are plenty of ways to get
around this map. If you are an avid explosive-jumper, there is a quick route to the flag
room through a hole in the ceiling over the capture point. Lacking an alternate route
through the middle, control of the Vickers gun is imperitive to any offense. R_speeds are
fairly high in the center area though. With the poorly fitting sky brush and the straight
on view into some of each base, the r_speeds can climb dangerously close to 900 at times.
Being a typical Team Fortress CTF map, there isn't much teamwork necessary to actually
capture the flag. The choke points make for very limited defense requirements. The biggest
Team factor would be to designate a group to keep control of the Vickers gun so your
offense doesn't get hammered when it's trying to cross the center. Considering it's
unlimited ammunition and relatively protected control point, the team who controls this
gun can keep an uncoordinated offense shut down.
Strategy would be your standard CTF fair. No defense means the scouts are gonna scoot
right on in and cap to their hearts content. Controlling the Vickers gun is probably the
single most important Strategic element in the map.
Verdict:
It's a decent start,
but I would wait until the flaws are fixed. Unfortunately, I got the impression that this map was
thrown together quickly. The author didn't take enough time to make it a map that I can
recommend for downloading. The sky flaw and the shoddy brush work just kill this map in my
eyes. The well placed Vickers gun is a great new strategic element.
| Section |
Sub-Section |
Score |
| Design |
Construction |
3 |
| Theme |
3 |
| Playability |
Layout
& Mobility |
4 |
| Tactics |
Teamwork |
5 |
| Strategy |
5 |
| Overall |
-[
21 ]- |
Delta
Bravo Final
Score:
- 21/50
-

|
![[Delta Bravo] -main-](../../images/page/title/deltalogo.jpg)