Author: ZOo [Andrew Aksyonov]
Release Date: July 11th, 1998
Reviewed by: Razzimatazz
Review Date: August 18th, 1999
|
Author: ZOo [Andrew Aksyonov] Release Date: July 11th, 1998 Reviewed by: Razzimatazz Review Date: August 18th, 1999 |
|
|
Architectural Originality Interior Architectural detail Proper use of textures Light & Ambience |
4/5 5/5 5/5 5/5 |
|
Speed & Efficiency Documentation (.txt) |
5/5 3/5 |
|
Respawn position & construction Item quantity and positions Gameflow & Class Specifics My own 2 cents |
3/5 4/5 3/5 3/5 |
TOTAL: 40/50 VERY GOOD
This the second map I have seen from Zoo, the other one being Demoz, and they are both very original and attractive levels. Both also have alternating daytime and nightime lighting. However, Z7 is the better one.
The setting of Z7 is two 'forts' on either end of a long steel bridge, cutting
through a rock canyon. The bridge outside is quite original and yet still
very functional. It is not a 2forts style bridge, but yet is comfortably wide, and
has large posts along the sides. There is a broken gap in the middle, which slow
classes have to negotiate carefully, or face falling to the water area below.
Underneath the bridge is an alternate route, with the small water area in the middle,
which means is there is always some where else to jump to if things get a little
'spammy' up top.
Other than the outside, Z7 retains most of the usual 2forts features. The lift
is a quick link from the outside and upper respawn to the basement, and it has
a little security feature like in demoz, where defence will hear the noise if
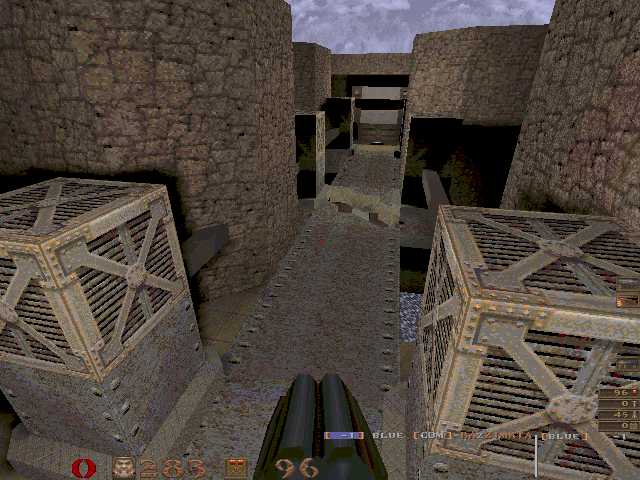
an enemy runs past. The ramps room is large and has the capping pad in it, and
some overly big crates in one side, however sentry defence is not common here
because of the three routes into the room being hard to cover. The under-bridge
route looks up here, and either side of the top of the bridge lead here too.
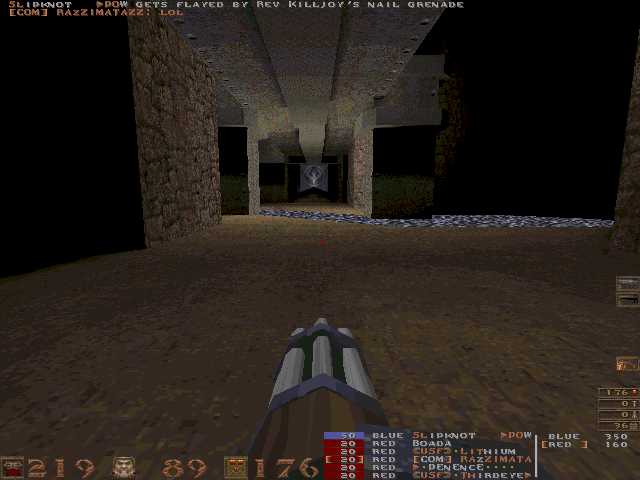
Instead of the spiral, we have the equivalent in a well constructed water room.
The generator lies here, where a demomans detpack can shut down the basement spotlight
(see below) and the security on the lift, both for one minute.
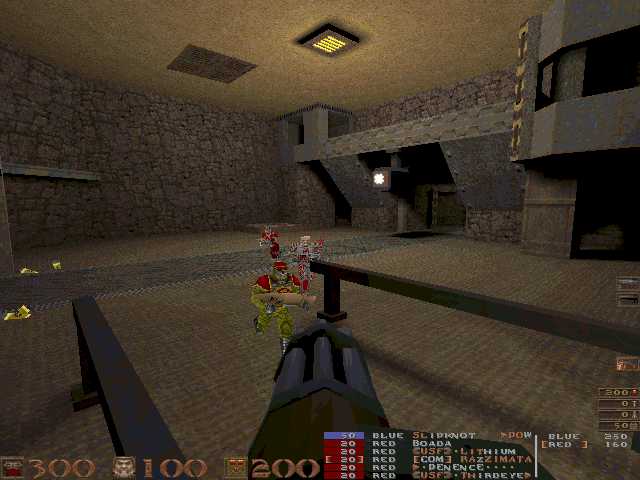
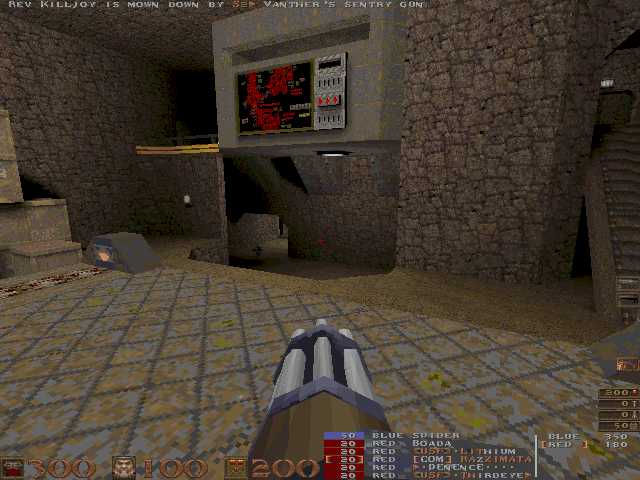
The basement is the hub of defence. Its a large open room which the lift and
generator route converage at. A long dark corridor leads from the basement to the
generator, and there is a spotlight which points down it, making incoming attackers
easy to spot. But if the generator is down, they can sneak in via the now pitch black
passage. Another half-interesting feature, is if a sniper can get a good shot off
at the spotlight, all the lights in the main basement room go out for about 3 seconds.
This is not usually much help as a dark room causes any defence to bring out the
blind spam.
The flag lies at the end of a long thin corridor ( :-( ), and an important thing
to note as you leave with the flag is that if you turn left at the end of the
flag corridor and jump into the grate there, you get blown across the basement
almost to the generator room. The worst feature of the basement though is that
the second respawn lies directly over the flag room.
The gameflow of the level is quite favoured to defence. The flag corridor offers easy defence, spam or no spam, and the respawn right there means there is no stop to the defenders and even attackers on their way out trying to get you. So if you are only lucky enough to fluke a flag run while the defence is spawning at the far resupply, then a cap may come your way.
The interior detail is top notch, all attractive and no unnecessary rubbish. There are loads of textures used, yet not overused, though some may not like how the brown cliff/rock texture has been used a lot as in demoz. But like in demoz, all textures are aligned carefully. Care has obviously been taken to make sure the lighting is well balanced and effective.
My overall impression of Z7 is that it is a map worthy of todays standards of level construction, yet it doesn't play as well as it could considering the time put into making it. While it passes as good fun in public servers, matches on this map in my opinion lack good balance, and perhaps if there was less chance of respawning right above the flag room, then this level would get an excellent score.
-razzimatazz
Screen Shots:
Image 1: Running across the bridge.
Image 2: The route underneath the bridge.
Image 3: The basement and hub of defence.
Image 4: Looking up through the generator room.
Image 5: The ramps room.
This site and it's content is copyright F.C.O. enr. 1998.
All original art and graphics are watermarked for authentication
purposes. The content submitted by contributors is copyright by
the respectful owner.