|
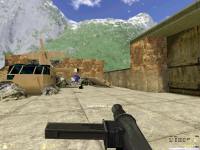
The atacking team starts beside a crashed glider on the outskirts of a war torn town. The attacking team must bring the flag to four command points in order (1, 2, 3, 4).
|
|
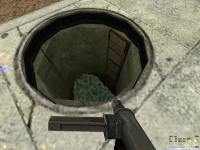
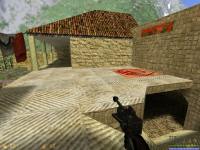
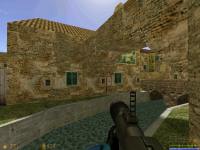
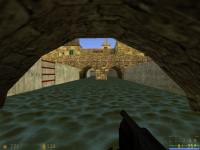
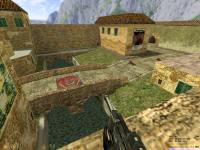
When the attacking team exits the courtyard they have a choice of two routes. One via the sewer.
|
|
The second route. Take the doorway on the right for the quickest route to command point 1.
|

|
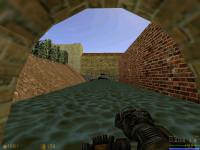
From the bridge you can see command point One above the water tunnel archway which leads to command point Two.
|
|
Once command point One is captured you will have to wait 15 seconds until the flag reappears beside the captured comand point.
|
|
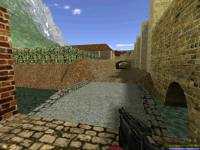
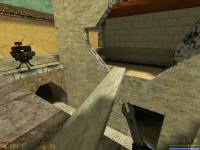
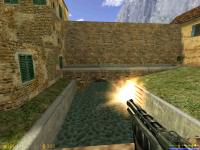
The water tunnel from CP1 brings you out beside the Cornfield. CP2 is on the other side of the field.
|
|
A second route is through the building which CP1 is located,
|

|
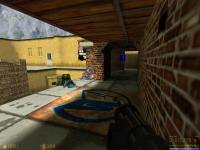
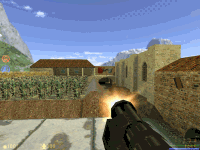
The defending team will find building auto sentries in the cornfield an excellent way to catch the attacking team by surprise.
|
|
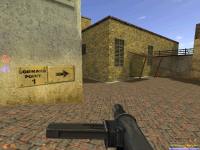
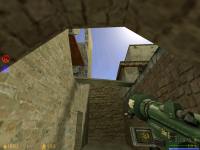
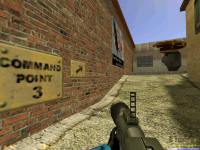
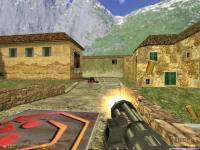
The third route to the cornfield is via the alley way. CP2 is located above the archway. A ramp leads up to it.
|
|
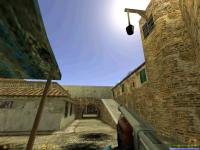
A defending sniper defends from under the archway.
|
|
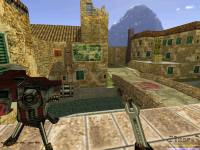
Too get to Command Point Three you can either go through the ruins or via the street.
|
|
Watch out for the defending team as they will be waiting for you.
|
|
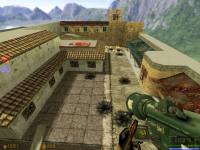
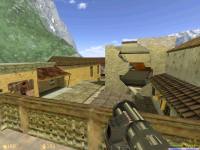
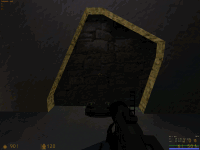
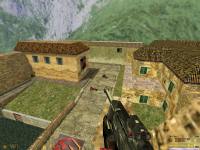
From the top of the ruins you get a great view of CP3.
|
|
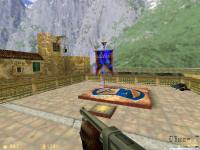
A Heavy Weapons Guy defends CP3 which is on the roof of a building.
|
|
"Invade and defend
Objective:
Blue team starts as the attacker. Red team starts as the defender. The attacking team starts at the glider wreckage and must take control of the town by pushing through and taking control of four Command Points sequentially. The defending team simply tries to hold out as long as they can. Once the attackers succeed, teams swap, and play begins again.
Command Points are captured by taking the flag from the previous point and carrying it to the next. When a Command Point is secured, the flag required to capture the next Command Point appears on top of it. For example, the flag needed to capture Command Point 3 will always spawn at Command Point 2. Dropped flags return
after 15 seconds.
Scoring:
Attacking team - 10 points per Command Point
captured.
Defending team - Points are awarded over time
for defending the Bridge (Command point 4).
"
|
| JMC Star Rating: |
 |
|
|
|
Cornfield - This map Rocks.
With team work the attacking team can outflank the defending team to get to their objectives.
JMC
|
|
|
|
Once CP3 is capped. Take the flag to the last Command Point which is on a bridge.
|
|
One route is to take your flag back to the building in the alley way with the damaged wall.
|
|
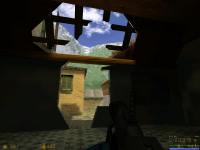
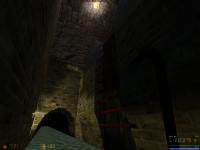
View of the alley way from inside the building.
|
|
A Demoman is needed to Detpack the wall to provide access.
|
|
With the hole in the wall you can sneak around to the final Capture point.
|
|
A second route is to go via the river tunnel beside the cornfield.
|
|
Follow the tunnel until you get to the water fall. Climb the ladder and then duck to fit through.
|
|
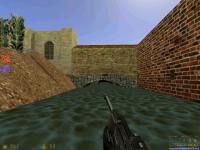
Head upstream to the bridge.
|
|
The defending team will need to defend all routes to CP4.
|
|
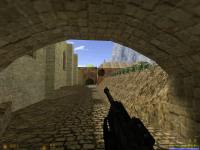
The direct route from CP3 to CP4 is under the archway.
|

|
Beside CP3 there is a good place for attacking snipers to take out the defending team as it over looks the bridge.
|
|
From the tower which over looks the bridge defending snipers get a clear view.
|
|
The defending team can also climb a ladder at the side of the tower to get onto the arch which spans the river providing another place for snipers to defend from.
|
|
Defending the bridge can be very difficult as there is lots of directions the enemy can come from.
|
|
There is plenty of places for the defending team's engineers to build Sentries.
|
|