"The red escort team must escort the demolitions man to the bridge. The demolitions man must then destroy the bridge with a detpack.
The yellow team must eliminate the demolitions man before he reaches the bridge and places his detpack. The green team can be used to diffuse any detpacks that have been set.
The blue and red team are kept at their respawn areas for fifteen seconds by physical barriers.
The demolitions man respawn area was set far away from the escort teams respawn area, so that an extra element of challenge is added. It is quite possible for the escort team to reach the demolitions man before the bridge defence team, even if the demolitions man stays still. But the demolitions man should be wary of enemy snipers that can take him out from a distance.
Once the demoman reaches the bridge, the escort team should attempt to surround him, so that enemy fire cannot easily reach the demoman. The demoman should also be wary that it takes a few seconds to lay the detpack, and this will be an opportune moment for enemy snipers to dispose of him. For a more stealthy approach, you should take the maintenance access to the bridge, and set the detpack underneath the bridge.
** Team information **
- Blue team (limit 1) - Demoman
- Red team (no limit) - HWGuys, Soldiers, Medics, Pyros
- Yellow team (no limit) - Snipers, Medics, HWGuys, Soldiers, Spies
- Green team (limit 1) - Scout
** Area names **
There are several area names that you should familiarise yourself with:
- GUN EMPLACEMENT - This is the area with the big controllable machine gun
- CHURCH - Near the escort teams respawn area
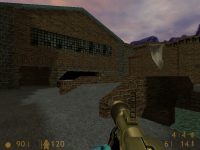
- WAREHOUSE - Near the demomans respawn area, this is the big building at the end of the street of houses that looks like a warehouse
- GARAGE - This is the building near the church with car and stacked tyres
- INDUSTRIAL AREA - The area with the factories and the vent on the floor with steam coming out of it
- NORTHERN ENTRANCE - The entrance to the bridge area approaching from the industrial area
- SOUTHERN ENTRANCE - The entrance to the bridge area approaching from the crashed tank
- CRASHED TANK - The area with the big crahed tank in it... DUH!
- SCAFFOLDING - The area with the scaffolding that leads to one of the defence teams respawn rooms
- RAMP - The ramp that leads up to the scaffolding area
- BRIDGE - The area with the bridge that the demoman must destroy"
|
|
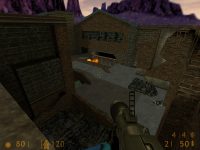
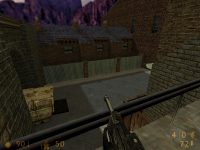
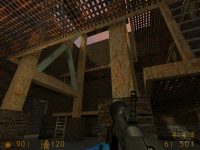
A view of the area around bridge |
|
| JMC Star Rating: |
 |
|
|
|
|
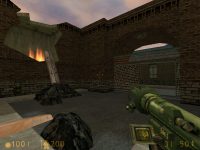
The bridge from the northern side. The demoman can also set the det pack under the bridge |
|
Hunted maps are more popular than ever - Here is a well designed map with a theme from the War Flim Saving Private Ryan.
JMC
|
|
|
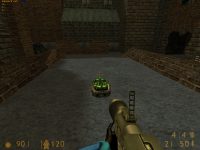
The det pack is set, now you must stop the green scout from defusing it. |
|
|
|
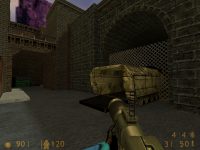
The blue demoman starts in the ammored carrier. |
|
The yellow team consists of Snipers, Medics, HWGuys, Soldiers and Spies - They must stop the blue demoman destroying their bridge |
|
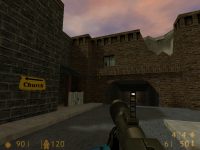
Red teams starting point - Red teams objective is to protect and clear the way for the demoman to get to bridge |
|
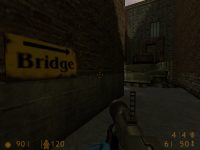
Follow the sign posts for the bridge. |

|
The industrial area - There is plenty of high places for snipers to snip from. |
|
Pass under the arch to enter the bell tower |
|
The bell tower. At the top is the second starting point for the yellow team. |
|
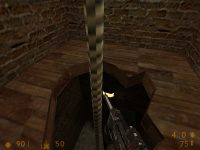
A rope leads down from one of the yelow teams starting locations |
|
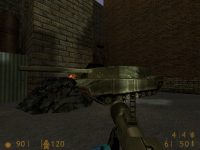
The crashed tank is south of the bridge. |
|
In this map snipers can climb up pipes to get onto the roof of building. |

|
The garage - There is plenty of landmarks on this map making finding your way easier. |
|