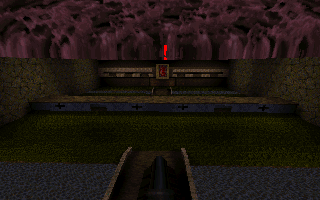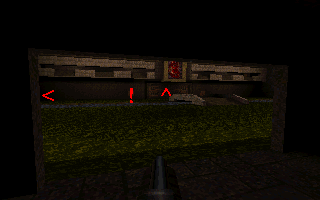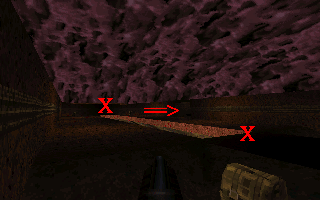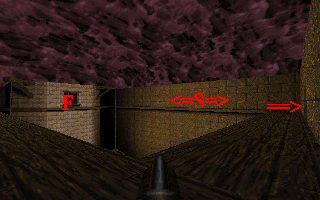
This is an area view of the entire outside area. This map is BIG. But not
very complex. A good spy will notice wether there is any snipers hiding
up on the roof of the opposing building. That knowledge will save you and
your team a lot of grief. You have 2 entrances to the enemy base. The water
route, and the main door.


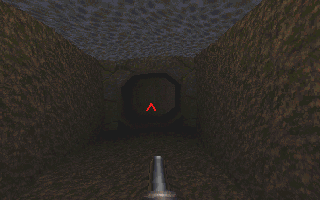
You probably want to enter the center room through the water to be safe,
plus it saves some grief. From your base, jump into the water and go LEFT.
Follow the tunnel to the center room. In the center room you can either
go straight to the front door of the enemy base, or through the water tunnel
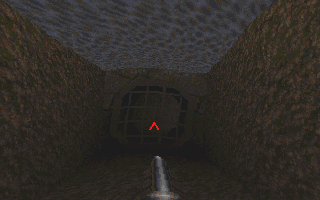
on the other side of the middle room, cross under their bridge, and go through
the grate. MAKE SURE YOUR TEAM BLOWS THE GRATE! Its very important to have
that grate open, and it only takes one detpack. Each underwater pass takes
2 breaths, no less. Breathe after leaving a tunnel, and right before going
in. (This method makes you less susceptable to sniper fire.)

This is a nice shot of the hallway in the center of the map. WATCH FOR SNIPERS.
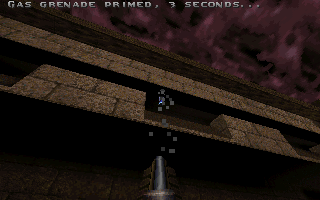
This is a nice sniper hangout. It also attracts demos and HW's so watch
out. Gas in here is deadly for both teams, so use sparingly.


If you decide to go in the main door, REMEMBER TO PUSH THE BUTTON, don't
shoot it. It will break your disguise. If you want to be an ass, toss gas
up into the sniper loft. You have to jump as soon as the gas is thrown so
it takes timing. The arrow pointing left points to the elevator to the roof.
Go up there to knife the snipers hiding there. If you can't use the elevator,
Try taking them out with a nailgun.

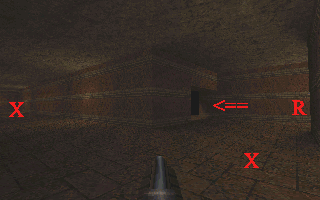
The entry foyer of the base is usually chock full of sentries. Against the
walls, or in corners. They aren't well defended. Take out a couple before
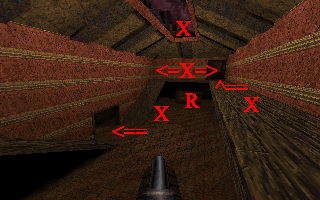
your team gets in. The arrow points to the ramp room of the enemy base.
The hallway is usually so chaotic that you should be able to slip through
unmolested. Toss Gas at the respawn door if it is open. The other side of
this hall is exactly like the side shown.

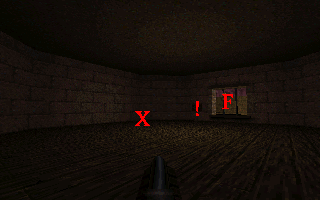
This room is almost a defensive grid. From this position you can see most
of the better sentry positions. The upper walkway door leads to the sniper
nest, and the lower door leads to the key hallway. You can toss gas into
the respawn area here too. GET THOSE SENTRIES!

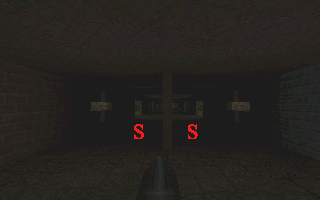
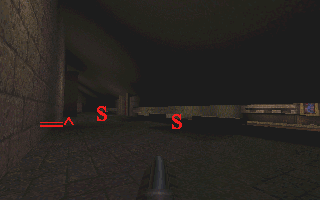
Ahh. Spy heaven. The sniper loft. S's are sniper positions. WATCH FOR SNIPERS
hanging out in the shadows. And toss gas to have fun : ) The elevator leads
to the upper supply area. Learn to hide there.

This is the upper supply area. The packs here are used by either team, and
refresh every 30 seconds. Engineers build sentries here sometimes. These
are the most deadly sentries. Clean them out first. The far elevator leads
to the flag room.


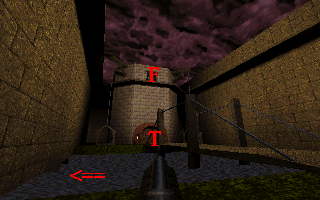
2 shots of the flag room. Strangely enough, Engineers don't build guns on
this walkway, but there are potential sniper slots here. Watch out. The
arrow leads to the upper supply. The T stands for where you return the key
to in the friendly base. The arrow pointing to the water is the safest escape
route, provided that the grate is opened.
( GET YOUR TEAM TO OPEN THAT GRATE!!!! )
On another note. Using the 2 elevators usually means suicide. Snipers LOVE
spychecks, and the elevators are a perfect chance to shoot a non-moving
target.

Heres the key room, look for sentries here, and on the surrounding platform.
Shoot the switch, grab the key, jump into the water, and through the tunnel,
provided if the demos have opened the grate (GET YOUR TEAM TO OPEN THE GRATE!!!)
If not, jump into the water anyway, and come out as close to the exits as
possible. and run like a son-of-a-bitch. When you escape their base, go
home using the water (NOT LAND!). 2 times out of 5 you'll get a sucessful
run.
Lately I have seen a lot of HW's hiding out right in front of the key. Walk
almost up to the edge where they are, and toss a gas around the corner.
That clears them out.

